
Selling a property is a process that involves much more than simply listing the house and waiting for offers. Between preparing the property, handling the paperwork, negotiating and signing at the notary’s office, the process includes many steps that require solid organization and a trusted team of professionals.
Whether it is your first time selling a house or not, fully understanding the process helps you approach each step with confidence and maximizes your chances of obtaining the best price within the best timeline.
This practical guide presents the 12 key steps of selling a house in Quebec, from defining your project all the way to closing the transaction at the notary’s office.
In brief
- Before putting a property on the market, it is essential to clarify your project: why are you selling, what is your plan for what comes next and what is your timeline?
- Hiring a real estate agent at the very beginning of the process is a strategic advantage. The agent takes care of marketing, showings and negotiation, all for a commission payable only when the sale closes.
- The seller’s declaration and the pre-listing home inspection are two essential protection tools to avoid disputes after the transaction.
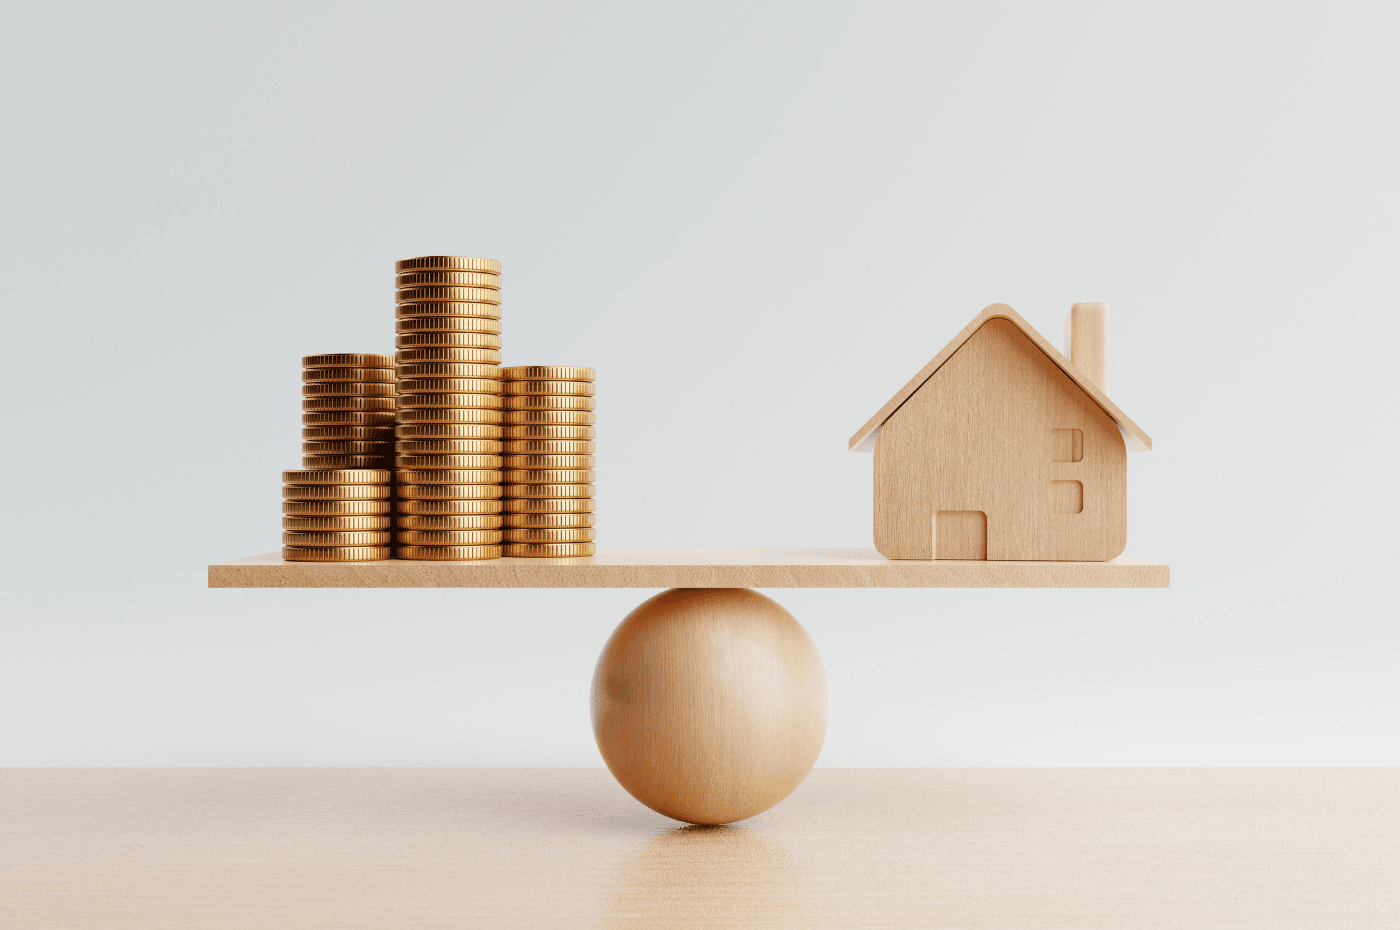
- Setting the right sale price is one of the most important decisions. A price that is too high lengthens the timeline, while a price that is too low leaves money on the table compared to the property’s true market value.
- In addition to the agent’s commission, several costs need to be planned: home inspection, certificate of location, mortgage prepayment penalties, mortgage discharge and moving costs.

Step 1. Define your selling project
Before getting started, it is essential to take the time to clarify your project. This reflection allows you to approach each step with a clear vision and avoid decisions made under pressure.
Here are a few essential questions to ask yourself:
- Why do you want to sell? Motivations vary widely: buying a larger or better-suited property, changing neighbourhood or region, going back to renting, freeing up cash or settling an estate.
- What is your plan for what comes next? Selling without having a concrete plan can create unnecessary pressure. Knowing whether you are buying in parallel, whether you need time to relocate or whether you already have a destination in mind directly influences how you manage the transaction.
- What is your timeline? Setting a target window for the sale helps you plan the steps at the right pace. Selling in three months or in a year does not require the same preparation or the same level of urgency.
Answering these questions from the outset and clearly identifying your motivation makes it easier to structure your selling project and surround yourself with the right professionals afterwards.
Should you sell before buying or buy before selling?
If you are already a homeowner and looking to buy another property, the order in which you proceed has a significant impact on your strategy and your budget. The question is: how do you buy and sell at the same time?
Selling before buying
Selling first gives you a clear idea of your available budget and avoids managing two properties at once. The downside is that you could find yourself without a place to live during the transition period, which calls for solid planning.
Buying before selling
Buying first ensures continuity in your living situation, but means managing two properties at the same time. In that case, bridge financing, also called a bridge loan, can help you cover the period between the two transactions. This short-term loan lets you use the equity in your current property to finance your new purchase, while you wait for the sale to close.

Step 2. Find a real estate agent
Calling on a real estate agent at the very beginning of the process is one of the best decisions you can make. Even though the commission represents several thousand dollars (about 5% of the sale price of the property), the support provided throughout the transaction is well worth the cost.
Here is what a real estate agent takes care of for you in the selling process:
- Assessing the property’s market value in the current market and setting a competitive sale price;
- Marketing the property: photos, listings, online and social media visibility;
- Managing and scheduling showings;
- Negotiating offers to purchase;
- Strategic advice if multiple offers are received simultaneously;
- Coordination with the other professionals involved in the real estate transaction.
How much does a real estate agent cost?
A real estate agent’s commission generally represents between 4% and 7% of the sale price, usually 5%, payable only when the transaction closes successfully. In concrete terms, for a property sold at $400,000, which represents approximately $16,000 to $28,000.
This amount covers all services offered throughout the transaction: market value assessment, marketing, professional photos, showings, negotiation and coordination up to the signing at the notary’s office. In many cases, it also includes the buyer’s agent fees, since the commission is generally split between the two agents involved in the transaction.
Is a brokerage contract mandatory?
Yes, in Quebec, a brokerage contract is mandatory as soon as you work with a real estate agent. It is an OACIQ requirement: an OACIQ-licensed real estate broker cannot work without a written contract signed by both parties.
What are the types of brokerage contracts?
In Quebec, two types of brokerage contracts are available, and the choice between them has a direct impact on how your property will be marketed.
- The exclusive contract entrusts the sale of the property to a single agent for the duration of the mandate. It is the most common option, since it allows the agent to invest fully in marketing your property.
- The non-exclusive contract lets you entrust the sale to several agents at the same time, or even sell on your own in parallel. This option offers more flexibility, but can reduce the agent’s commitment, since nothing guarantees them a commission in the end.
What the contract must contain
Before signing, take the time to carefully read and understand the following elements:
- The duration of the mandate: it is generally 3 to 5 months and can be renewable depending on the agreement.
- The agreed commission: the percentage of the sale price you agree to pay the agent when the transaction closes.
- Termination conditions: some contracts allow you to end the mandate in case of dissatisfaction, while others are more restrictive.
- Protection clauses: even after the mandate ends, if a buyer introduced by the agent closes the transaction, the commission may still be owed.
- The obligations of each party: what you and the agent formally commit to.
What if you choose to sell without a real estate agent?
It is possible to sell your property on your own, notably through platforms such as DuProprio. You will then have to handle the market value assessment, marketing, showings, negotiation and drafting of legal documents on your own.
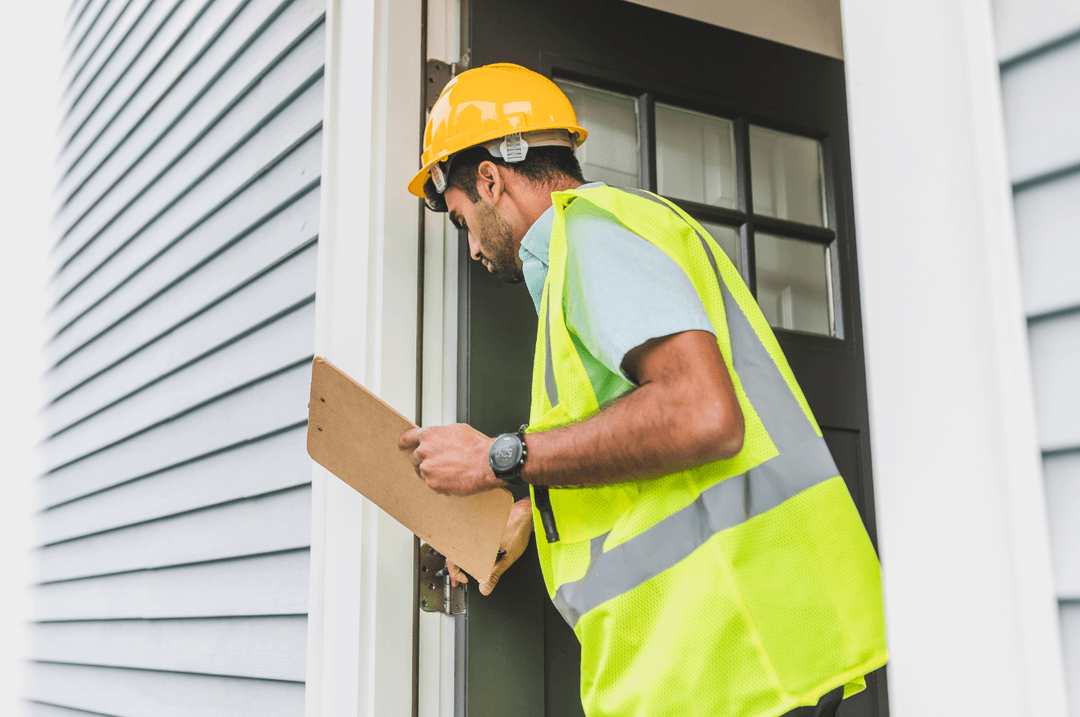
Step 3. Have a pre-listing home inspection done
Putting your property on the market without knowing its real condition is taking an unnecessary risk. The pre-listing home inspection allows you to draw an objective picture of the building before the first buyers even step through the door. Although it is not mandatory, this approach is particularly beneficial for you as a seller.
Having your property inspected before listing it offers several advantages:
- Correct any problems detected before showings, which strengthens potential buyers’ confidence.
- Avoid unpleasant surprises during the pre-purchase home inspection ordered by the buyer.
- Protect yourself from possible legal action after the sale, with an official document attesting to the property’s condition at the time of the transaction.
Good to know
The pre-listing home inspection and the pre-purchase home inspection are two distinct steps. The first is initiated by the seller to know the condition of their property before the sale, while the second is ordered by the buyer after the offer to purchase is accepted.
Step 4. Gather the necessary documents
Preparing all the documents required for the sale before listing the property is a step that is often overlooked, but it can make all the difference. Having them on hand from the very start of the process allows you to avoid unnecessary delays once buyers begin to show interest.
Here are the main documents to gather:
- Pre-listing home inspection report;
- Statement of municipal and school taxes;
- Seller’s declaration;
- Declaration of co-ownership (in the case of a condo);
- Bills for electricity, gas, home insurance, etc.;
- Certificate of location;
- Invoices for work carried out over the years;
- Title of ownership proving that you are the owner of the property.
Pay special attention to the certificate of location
The certificate of location is a mandatory document for the signing at the notary’s office. It is important to check, from the start of the process, whether yours is still valid.
If it is more than ten years old or if changes have recently been made to your property, plan to have a new one produced as soon as possible. Producing a new certificate can take several weeks and add unnecessary delays to the transaction. It is better to anticipate.

Step 5. Assess the property to set the sale price
Before putting your property on the market, it is essential to know its real market value. Setting too high a price can discourage buyers and lengthen the time on the market, while too low a price leaves money on the table. Two professionals can help you establish this value.
1. The certified appraiser
A member of the Ordre des évaluateurs agréés du Québec (OEAQ), the certified appraiser is the specialist in real estate valuation. The appraiser visits your property, analyzes its features, consults comparable sales in your area and produces an official report establishing the market value in a neutral and impartial way. This document is recognized in legal and financial contexts, which makes it the go-to reference in complex situations.
2. The real estate agent
A real estate agent can also estimate the market value of your property thanks to their in-depth knowledge of the local market. By relying on recent comparable sales, area trends and the features of your property, they are able to set a realistic and competitive price.
This estimate is offered free of charge as part of a sale mandate and does not constitute an official report, but it remains a very effective tool for positioning your property on the market.
Good to know
If you are selling with a real estate agent, their estimate is sufficient to set a competitive and realistic sale price. Calling on a certified appraiser is particularly recommended if you are selling on your own or in more complex situations such as an estate or a divorce.
Want to estimate your property yourself?
It is possible to do a personal estimate, but this approach involves significant risks. Without a professional’s tools and market knowledge, it is easy to overvalue or undervalue your property. If you still want to try the exercise, here are a few key points to consider:
- Look at recent comparable sales in your area on real estate platforms.
- Take into account the condition of your property, its features and its weaknesses.
- Factor in any work to be done in your estimate.
- Stay objective: emotional attachment can distort your judgment.
Caution
Never rely on the municipal assessment to set your sale price. The assessed value is established for tax purposes and does not reflect the reality of the current real estate market. It can be significantly lower or higher than the real market value of your property.

Step 6. Fill out the seller’s declaration
The seller’s declaration is a mandatory legal document in Quebec in which you disclose to the buyer everything you know about the condition and history of the property. It must be filled out honestly and carefully, since it engages your legal responsibility.
The declaration covers all known aspects of the property, in particular:
- The history of water damage, infiltration or humidity problems;
- The presence of pyrite, radon, asbestos or other contaminants;
- The condition of the roof, foundation and mechanical systems;
- Work carried out with or without permits;
- Known neighbourhood issues or disputes.
Voluntarily omitting a known problem or providing false information can expose you to legal action after the sale, even if the property was sold without legal warranty. Good faith is therefore essential.
Selling without the legal warranty: what does it mean?
In Quebec, you can choose to sell your property without legal warranty, at the buyer’s risk and peril. This mention, included in the deed of sale, limits your responsibility in the event of hidden defects discovered after the transaction.
It is a common option in estate situations, where heirs do not always know the full history of the property. It must, however, be communicated clearly to the buyer from the start, since it can influence their decision and the price they are willing to offer.
Step 7. Showcase the property
A well-presented property sells faster and often at a better price. Even if your house is in good condition, a few staging efforts can make a real difference in the eyes of potential buyers.
Here are a few simple improvements to consider before showings:
- Refresh the wall paint in the main rooms.
- Replace or remove worn furniture that weighs down the spaces.
- Declutter and tidy up to give an impression of volume.
- Deep clean the entire property.
- Take care of the front of the house, mow the lawn and trim the shrubs.
- Repair small visible flaws.
Good to know
Going for neutral and clean decor allows buyers to project themselves more easily into the space. It is one of the foundational principles of home staging: creating a welcoming environment that appeals to as many people as possible, without an overly distinctive personality.

Step 8. Market the property
Once your property is ready and the price is set, it is time to make it visible to potential buyers. Effective marketing rests on three essential elements: a competitive price, a polished listing and good visibility on real estate platforms.
1. A competitive price
The listed price must reflect the real market value of the property. Too high, it discourages serious buyers. Too low, it leaves money on the table. That is why the assessment carried out at the previous step is so important.
2. A polished listing
Most buyers start their search online. Professional, well-framed and well-lit photos, combined with a clear and engaging description, make all the difference in generating showing requests. Several real estate agents work with a professional photographer as part of their mandate.
3. Good visibility
Visibility today comes mainly from online real estate platforms. Centris, the portal exclusive to OACIQ-licensed real estate brokers, offers the largest reach in Quebec. A listing well distributed on the right platform attracts more serious and qualified buyers.
Beyond online platforms, other tools can help maximize the visibility of your property:
- Open houses allow several potential buyers to visit the property at the same time, which can create a sense of urgency and encourage quick offers.
- Virtual tours give buyers the option to discover the property remotely, which broadens the pool of potential buyers and filters those who are truly interested before making the trip.
- A clearly visible sign on the property remains an effective tool to draw the attention of buyers passing through the area who may not necessarily be searching online.
Good to know
Only an OACIQ-licensed real estate broker can publish a listing on Centris. If you choose to sell on your own, you will have to turn to other platforms such as DuProprio or Kijiji.

Step 9. Manage the showings
Showings are the moment when potential buyers discover the property in person. The way you handle this step can make all the difference in their decision.
If you sell with a real estate agent
Your agent takes care of scheduling and managing the showings for you. You only need to make sure the property is clean and tidy before each visit. It is also recommended to leave the premises so that buyers can feel comfortable and picture themselves at home.
If you handle the showings yourself
Plan between 30 and 60 minutes per showing. Buyers will likely ask questions about energy consumption, municipal taxes, home insurance or the property’s history. Having the relevant documents on hand allows you to answer with confidence and demonstrate your seriousness.
How to recognize a serious buyer
Not every showing leads to an offer. A few signs, however, help distinguish buyers who are truly interested:
- They ask precise questions about the property, the neighbourhood and the related expenses.
- They have a mortgage pre-approval.
- They request a second showing or come back with loved ones.
- They have done research on the area before the showing.
- They express their interest within 24 to 48 hours after the visit.
Good to know
If several showings happen without any offer in sight, it is often a signal that something needs to be reviewed. The two most effective levers are price and visibility. A price reduction, even a modest one, can revive buyer interest.
If you are selling without an agent, it may be time to consider hiring one to benefit from broader marketing and a professional eye on your sales strategy.

Step 10. Receive and accept an offer to purchase
This is the long-awaited moment: a buyer expresses their interest in a concrete way by making an offer to purchase. This legal document specifies the price they are willing to pay, the sale conditions and the desired date of taking possession.
As a seller, you have three options:
- Accept the offer: you accept the price and conditions as is. The transaction is officially set in motion and both parties are bound by the terms of the offer.
- Refuse the offer: you are entirely free to refuse an offer that does not suit you, whether because of the price, the conditions or the date of taking possession. No legal obligation forces you to accept.
- Submit a counteroffer: you modify certain elements of the offer and return it to the buyer for them to accept or refuse in turn.
How to assess the strength of an offer
Whichever option you choose, it is important not to rely solely on the proposed price. Other elements are just as important to consider when assessing the strength of an offer.
- The mortgage pre-approval: it confirms that the buyer has already started the financing process and knows their borrowing capacity, which reduces the risk of the transaction falling through.
- The conditions included: an offer conditional on the sale of the buyer’s property carries more uncertainty, since the transaction then depends on a factor outside your control.
- The date of taking possession: it must match your own timeline to avoid finding yourself in a difficult situation between two properties.
Accepting an offer: a firm commitment
Once the offer is accepted, the transaction is officially set in motion. It will be very difficult, if not impossible, to back out without consequences for either party. It is therefore essential to take the time to analyze each offer before signing.
Good to know
If you receive several offers at the same time, your real estate agent can help you compare the files and choose the strongest one, not simply the one with the highest price.

Step 11. The condition period
Once the offer to purchase is accepted, the condition period begins. It is a step that is often overlooked, but one that can be decisive for the rest of the transaction.
During this period, the buyer has a specific deadline to fulfill the conditions written into the offer to purchase. Here are the three most common ones.
1. The pre-purchase home inspection
The buyer hires a building inspector to examine the condition of the property. If problems are detected, they can return to negotiation to ask for a price reduction or require certain work before taking possession. The usual deadline for this condition is around 10 business days.
2. Obtaining financing
The buyer’s financial institution carries out a complete analysis of their file before granting the final loan. If financing is refused, the transaction can be cancelled without penalty for the buyer. The usual deadline for this condition is around 10 business days.
3. The sale of the buyer’s property
The buyer commits to buying your property, but only if they manage to sell their own within the agreed timeframe. If their property does not sell in time, the transaction can be cancelled. This is the condition that carries the most uncertainty for you as a seller. The associated deadline is generally longer, between 60 and 90 days.
Once all the conditions are fulfilled, the buyer officially lifts them in writing. That is when the sale becomes firm and final, and the transaction can move forward to the signing at the notary’s office.
What happens if the transaction falls through?
If the buyer does not lift their conditions within the agreed timeframe, the offer to purchase becomes void and you can put your property back on the market without penalty. If, on the other hand, the buyer withdraws after lifting all their conditions, the situation is more complex and can lead to legal recourse. In all cases, it is recommended to consult your real estate agent or a notary to learn about your options.
Step 12. Closing the transaction at the notary
The signing at the notary’s office is the long-awaited moment: the official signing of the deed of sale. The seller and the buyer come together to review every detail of the transaction, sign the official documents and proceed with the transfer of the property.
The financial settlement and mortgage discharge
This is also the step where everything is settled financially. The notary coordinates the transfer of funds, repays your mortgage out of the sale proceeds and proceeds with its discharge from the land registry.
This step officially confirms that your loan is fully repaid and that the property is freed of any charge before being transferred to the buyer. Once everything is settled, the net proceeds of the sale are remitted to you.
Good to know
The buyer is the one who chooses the notary and assumes the related fees. The notary will communicate directly with you or your real estate agent to indicate the documents to provide and the date of signing.

Costs associated with selling a property in Quebec
Selling a property involves several costs that are best anticipated to avoid unpleasant surprises. Here is an overview to help you plan your budget.
1. The pre-listing home inspection
Before putting your property on the market, calling on a building inspector helps identify any work and corrections to plan for. Although it is not mandatory, it can be a strategic investment. Fees generally range between $670 and $1,030 for a single-family home.
2. Repairs and improvements
Work carried out before the sale can have a direct impact on the price you obtain. Outstanding repairs will need to be reflected in the asking price, while certain strategic renovations can increase the market value of your property and speed up the sale.
3. Market value assessment
Setting the right sale price is one of the most important decisions of the entire transaction. The cost of an appraisal generally ranges between $650 and $900. If you are selling with a real estate agent, this estimate is usually included in their services.
4. The real estate agent commission
A real estate agent’s commission generally represents 4% to 5% of the selling price. For a property worth $400,000, which represents about $20,000 for a 5% commission. It is only owed once the sale closes successfully.
5. The certificate of location
The certificate of location must be up to date at the time of sale. If yours is expired or no longer reflects the current state of the property, a land surveyor will need to produce a new one at your expense. The fee suggested by the Ordre des arpenteurs-géomètres du Québec is $1,580 for a single-family home.
6. The mortgage prepayment penalty
Selling before the end of your mortgage term almost always entails a penalty. Its amount varies depending on your contract and your financial institution, but it can represent several thousand dollars. It is recommended to verify the conditions directly with your lender before listing your property.
7. The mortgage discharge
At the time of sale, the notary proceeds with the discharge of your mortgage from the land registry. These fees can range between $450 and $750, depending on the notary’s fees and the complexity of the file.
8. Moving costs
Selling your property also means planning your move. Costs vary according to the volume to transport, the distance and the time of year. For a standard move with professionals, plan around $1,200.
9. Capital gains tax
A principal residence is fully exempt from capital gains tax, which represents significant savings for the majority of sellers.
For a secondary residence, a cottage or a rental property, the tax applies on the difference between the purchase price and the sale price. If you are unsure about your situation, it is advisable to consult an accountant or a tax specialist before the sale.
FAQ. Selling a house in Quebec
How long does it take to sell a property in Quebec?
The time on the market varies depending on the area, the asking price and market conditions. In general, count between 30 and 60 days between listing and the acceptance of an offer, with another 30 to 60 days for conditions and the signing at the notary’s office. In an active market like Montreal or the City of Quebec, this timeline can be considerably shorter.
Can you sell your house without a real estate agent?
Yes, it is possible through platforms like DuProprio. You will, however, have to handle the market value assessment, marketing, showings and negotiation on your own. Without access to Centris, the visibility of your property will be more limited, which can lengthen the time on the market.
Can you refuse an offer to purchase?
Yes, you are entirely free to accept, refuse or submit a counteroffer. No legal obligation forces you to accept an offer, even if it matches the asking price.
How much is a real estate agent’s commission?
The commission generally falls between 4% and 5% of the sale price, payable only when the transaction closes. For a $400,000 property at 5%, which represents approximately $20,000.
What is the best time to sell your property in Quebec?
Spring, from March to June, is the most active period of Quebec’s real estate market. Demand is higher, which favours shorter timelines and more competitive prices. Fall is also a good window, while winter attracts fewer buyers, but often more serious ones.
What is a hidden defect and what are my responsibilities?
A hidden defect is a serious flaw, not visible at the time of the sale, which reduces the value or use of the property. If such a defect is discovered after the transaction, you could be held responsible, even if you were unaware of it. That is why it is essential to fill out the seller’s declaration honestly and to have your property inspected before listing.
Do I need a home inspection before selling my house in Quebec?
A pre-listing home inspection is not mandatory in Quebec, but it is strongly recommended. It allows you to identify any problems before the buyer’s pre-purchase home inspection, address them in advance and reduce the risk of disputes after the sale. It also strengthens buyers’ confidence and supports your asking price during negotiations.
Are you looking to sell your property?
XpertSource.com can help you find a . When you tell us about your project, we put you in touch with qualified resources for free. Simply fill out our form (it only takes a few minutes) and we will connect you with professionals.